Requirements:
- AT-ETU-SYNC
- Firmware File - Can be found on the Product Page under the Firmware Tab
- Windows PC
- USB-A to USB mini-B cable
Process:
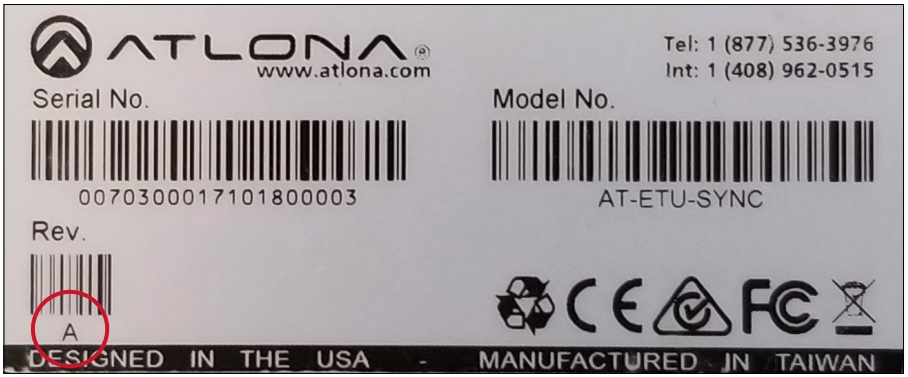
- Check the bottom of the AT-ETU-SYNC and identify the hardware revision:

- If the Rev. letter (shown on the sticker on the bottom of the unit) is A, then update using the 1.0.X firmware
- If the Rev. letter is B or later, then update using the 2.0.X firmware

- Disconnect power from the AT-ETU-SYNC
- While holding down the TEST button (shown in the above diagram), Connect a USB-A to USB mini-B cable between the PC and the FW port on the AT-ETU-SYNC. The unit will be powered by the USB cable.

- The USB UPDATE folder will be displayed. Release the TEST button. (If the AutoRun feature does not show the folder, select the USB UPDATE drive from Windows Explorer.)
- Drag-and-drop the firmware file to the drive. The folder will automatically close after the firmware file has been copied to the drive. The LEARN button will flash during the update procedure.
- After the LEARN button stops flashing, disconnect the USB cable from both the computer and the AT-ETU-SYNC.
- The firmware update process is complete.
- To verify the firmware version on the ETU-SYNC, see this article.